When I was learning to make this, Minako sensei said to make a big batch, because it takes too much work to make just a little bit. You can divide up the bean paste into smaller, usable batches and freeze them in individual bags, then thaw just a smaller amount for what you need. It took me all day to make this batch.


Continue to simmer until the beans fall apart. This may take longer than you think it will.

I then pour the bean slush into the blender and pulse it a couple of times to make sure all the beans are broken up and smooth. You can also use a food mill, sieve or food processor.

Pour the slush back into the pot or a large bowl and let the bean paste settle.

You will see the two layers begin to separate after about 10 minutes. Pour off the top layer of discolored liquid, and refill the pot with fresh cold water.


Let the mixture settle and pour off the top layer. Do this many times. How many? Until the top layer becomes clear. Sometimes I have done it as many as 10 times. The paste settles faster as the toip layer is poured off with lighter material. When the top layer is clear, put a muslin jelly bag over a strainer in the sink, (or I just use a clean flour sack towel). Pour the bean mixture into the bag, drain and then squeeze out or wring as much water as you can. The more water you can squeeze out, the less time the next step will take. The pste should be dry. Good, now you have unsweetened bean paste called nama an and we are half-way done.
Weigh out the bean paste and return to the pot (without the jelly bag or flour sack towel).
I don't like my sweets too sweet, so I use one third of the weight of the bean paste and measure that amount of sugar. Put all of the sugar and half of the bean paste in the pot and heat over medium-low heat stirring constantly. As the sugar melts, the mixture will get very thin.


The moisture content will var accoring to the ultimate use. Dryer for molding, stickier for kinton.
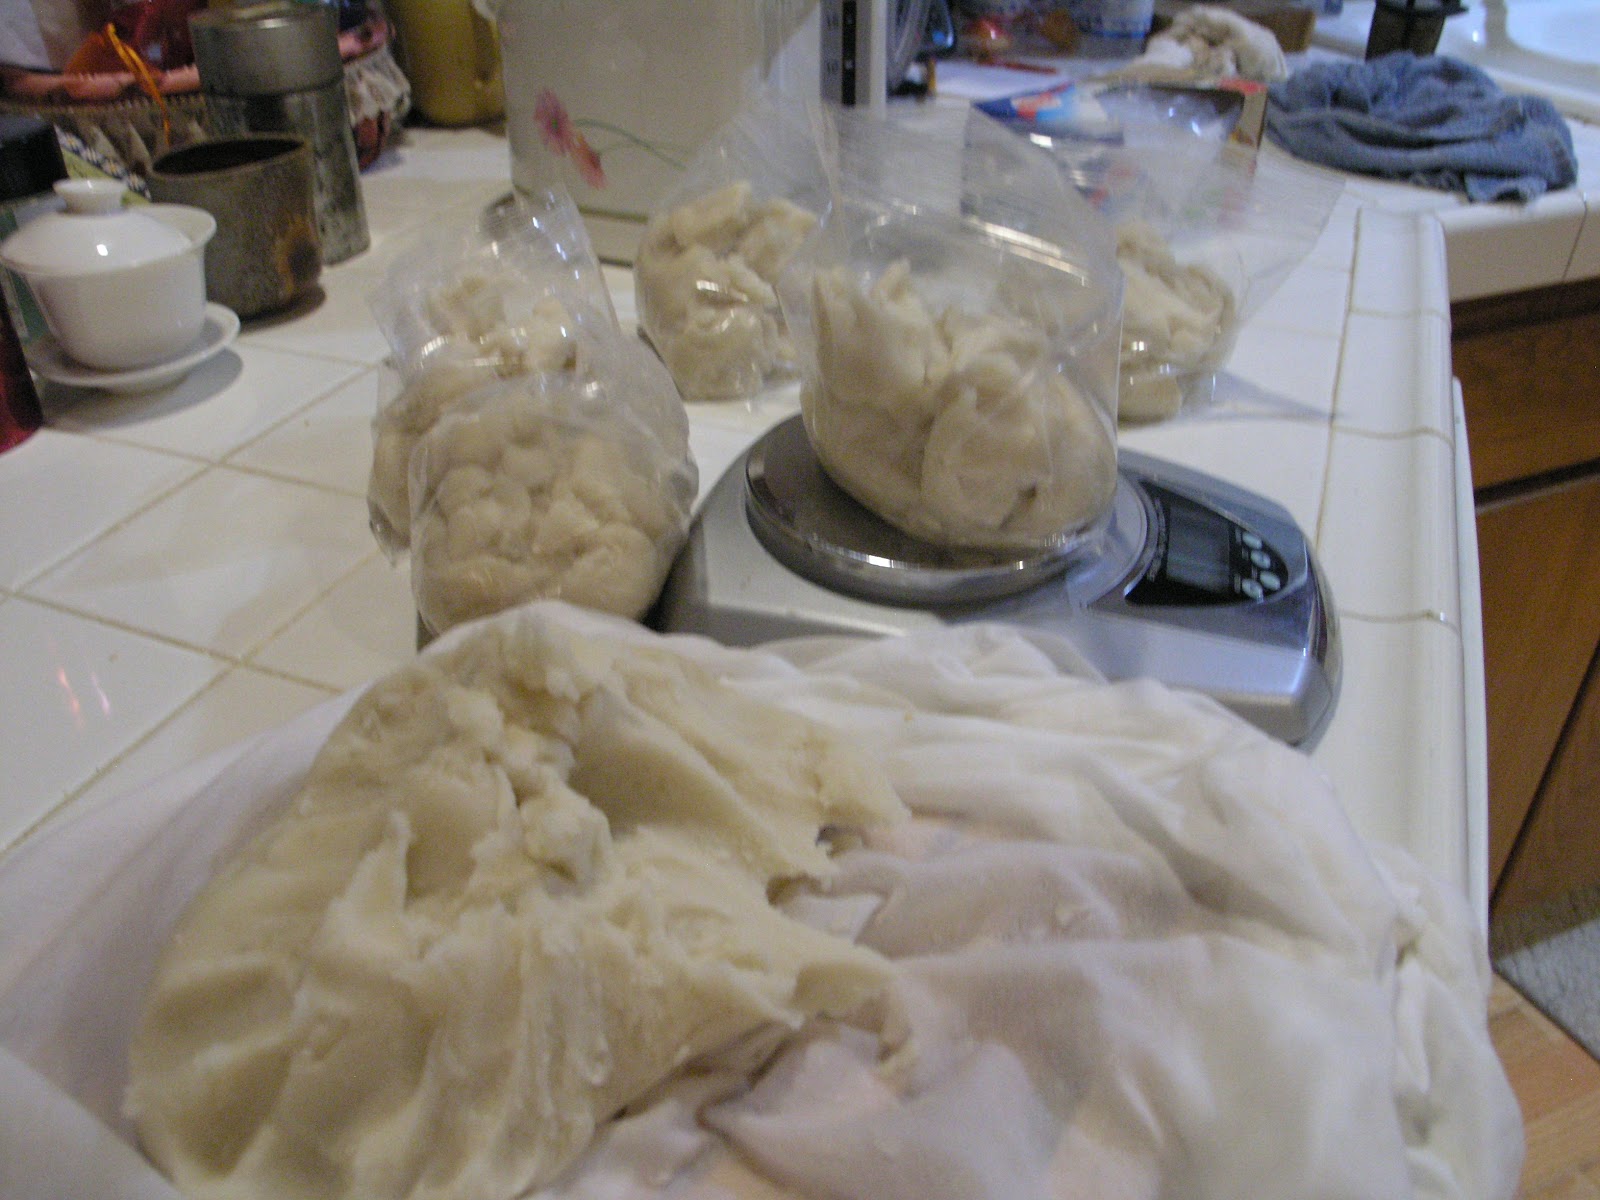
This white bean paste can be frozen for up to 3 months if double wrapped and sealed tightly.
When I thaw the bean paste, I put it in the microwave to thaw and warm it. To make it pliable and easier to work with, knead in a damp dish towel. You can then color it, form it, add other ingredients and use with other ingredients to make you favorite wagashi.

Great tips and techniques! Especially about allowing the mush to settle and pouring off the excess water.
ReplyDeleteI hope you try it. Let me know how it goes. It does take all day.
DeleteWe have tentative plans to make some this weekend! I'll let you know the results.
DeleteGood luck, let me know how it turns out.
DeleteBest laid plans went awry, but we had time this weekend instead. As you said, it took all day, but now we have a kilo or so of nama-an in the fridge!
DeleteThank you again for your inspiration and instruction!
Yes! and now you have the basis for any number of sweets. I just made some with chestnuts mixed in the an and formed to look like a chestnut.
DeleteMargie
This makes me appreciate our sweets even more!
ReplyDeleteYes it is a lot of work, but worth it!
Delete